
One look inside a bike shop and the confusion begins: 12 inches, 16 inches, 20 inches, or maybe even 24 inches? For many parents, these measurements seem more complicated at first than they actually are.
The good news: You can easily narrow down the right size for a kids’ bike with a few simple steps. The most important factors are height, inseam, and whether your child feels safe on the bike. Age can be a helpful guide, but it’s only a rough estimate.
What does the “inch” measurement mean for a children’s bike?
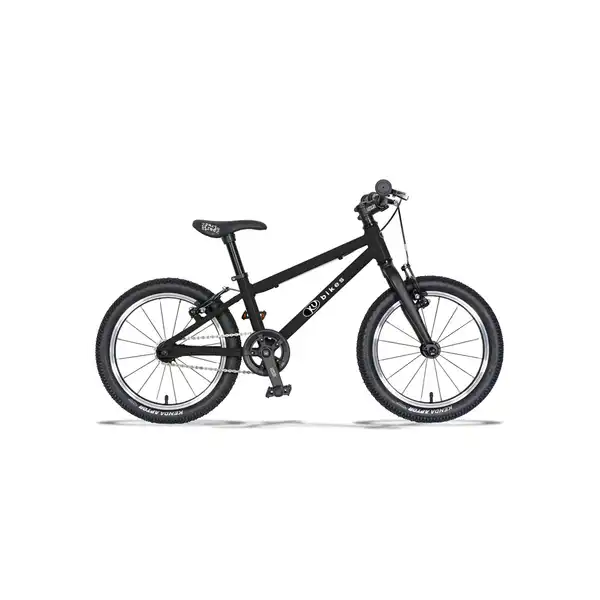
On a children’s bike, the inch measurement describes the diameter of the wheels. A 16-inch bike therefore has larger wheels than a 12-inch model.
One inch equals 2.54 centimeters. A 16-inch bike therefore has a diameter of approximately 40.6 centimeters, a 20-inch bike approximately 50.8 centimeters, and a 24-inch bike approximately 61 centimeters.
Important: This conversion merely explains the size designation. It does not allow you to calculate what bike size your child actually needs. This is because the inch measurement does not indicate how tall the frame is, how low the saddle can be adjusted, or whether the bike fits your child’s proportions.
Why are there intermediate sizes like 14 or 18 inches?
Not every child moves directly from 12 to 16 inches or from 16 to 20 inches. Intermediate sizes like 14 or 18 inches can bridge the gap between two standard bike sizes when the next size up doesn’t fit quite right yet.
How to Measure the Right Size for a Kids’ Bike at Home
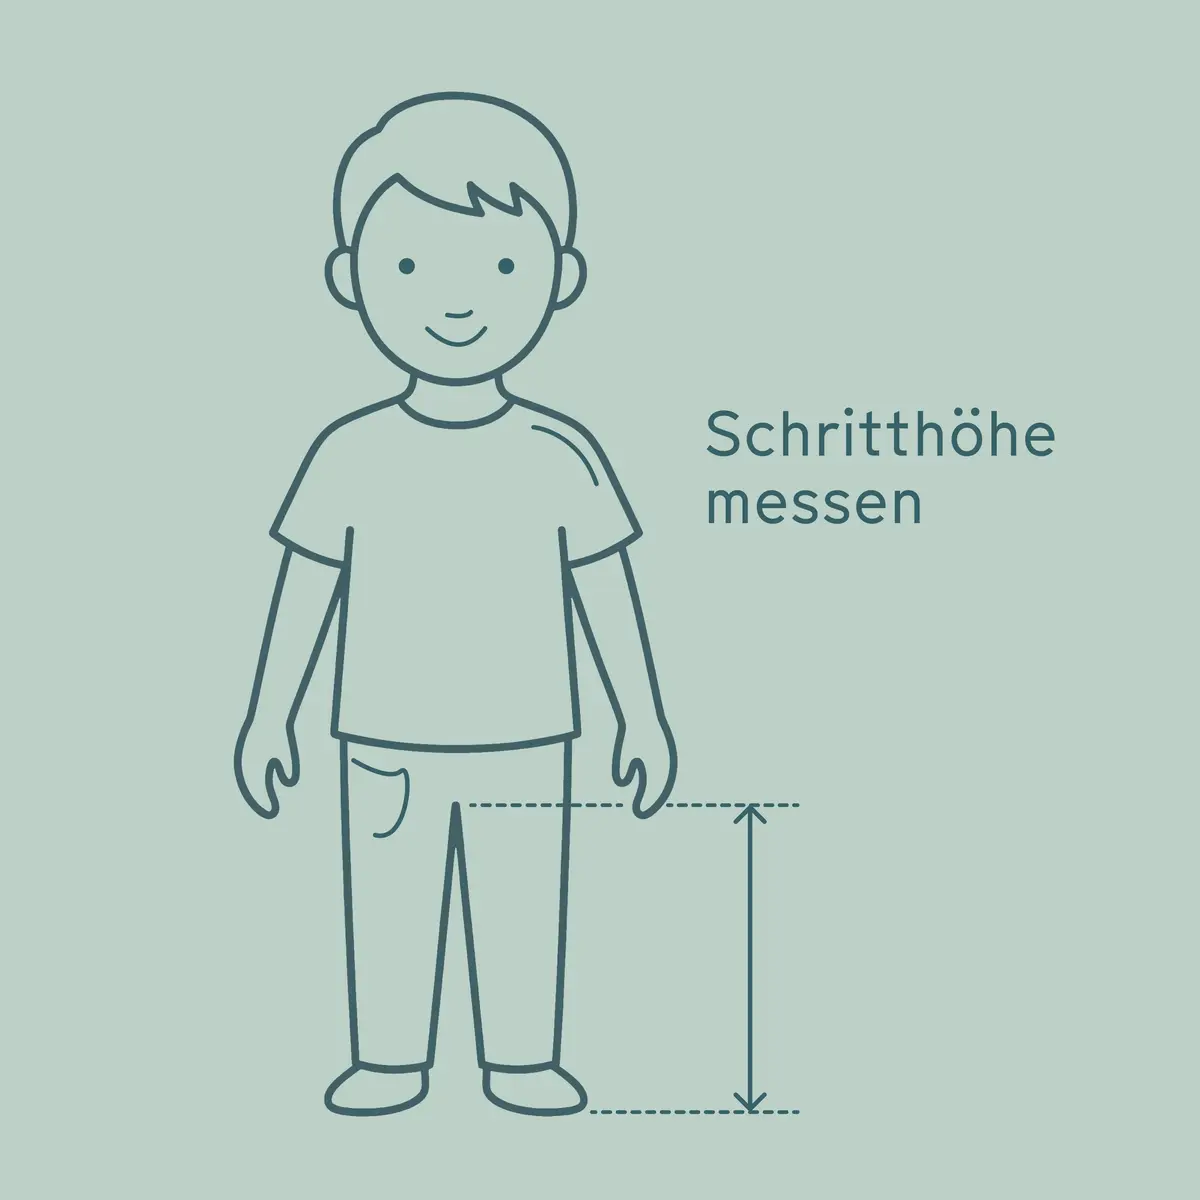
All you need for the measurement is a thick book, a measuring tape, and a few minutes.
- Have your child stand barefoot and as straight as possible.
- Slide a thick book between their legs and gently push it upward, similar to a bike saddle.
- Then measure from the floor to the top edge of the book.
How can I tell if the bike really fits?
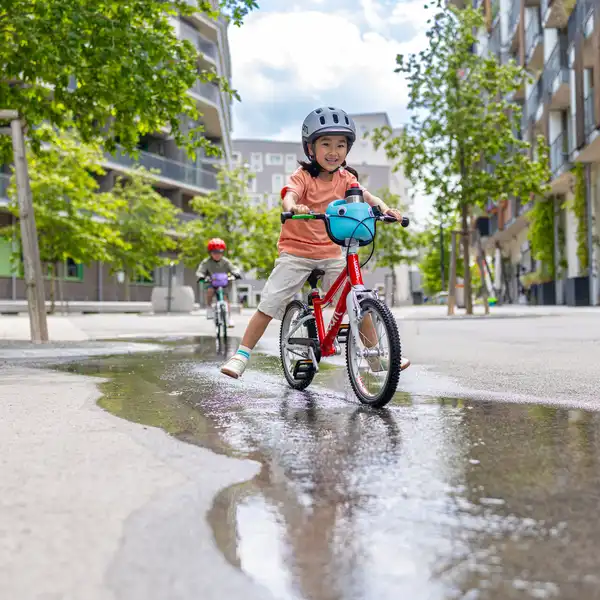
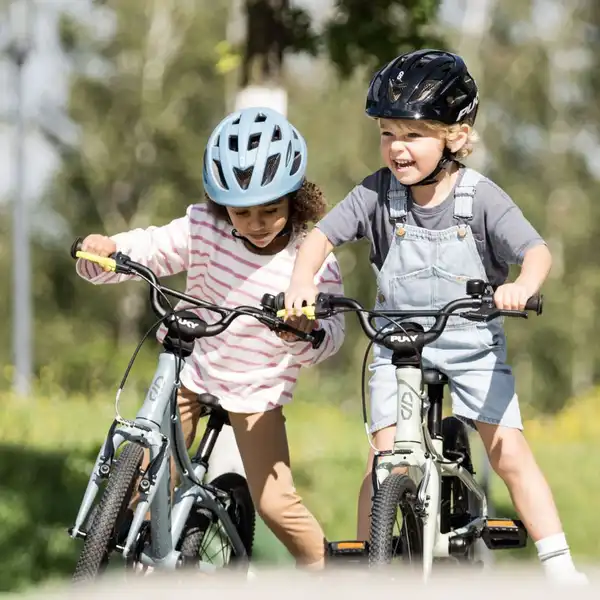
Especially for beginners, your child should be able to get on and off safely and support themselves easily when stopping. The handlebars and brakes must also be within easy reach.
Three things can help you assess this:
Both balls of their feet reach the ground securely.
This provides a sense of security when stopping and getting off, especially when learning to ride a bike.
Their arms should remain slightly bent.
If your child has to stretch far forward or rides with their arms fully extended, the bike may be too big.
The bike can be maneuvered with control.
Your child should be able to start riding, steer, and brake on their own without the bike feeling heavy or unwieldy.
Common Mistakes Parents Make When Choosing a Child’s Bike Size
Age is sufficient for selection
Age is only a rough guide. Height and inseam are much more helpful.
Bigger is better because the bike will fit longer.
A bike that’s too big can make learning to ride more difficult and make the child feel insecure.
The saddle should be set as high as possible.
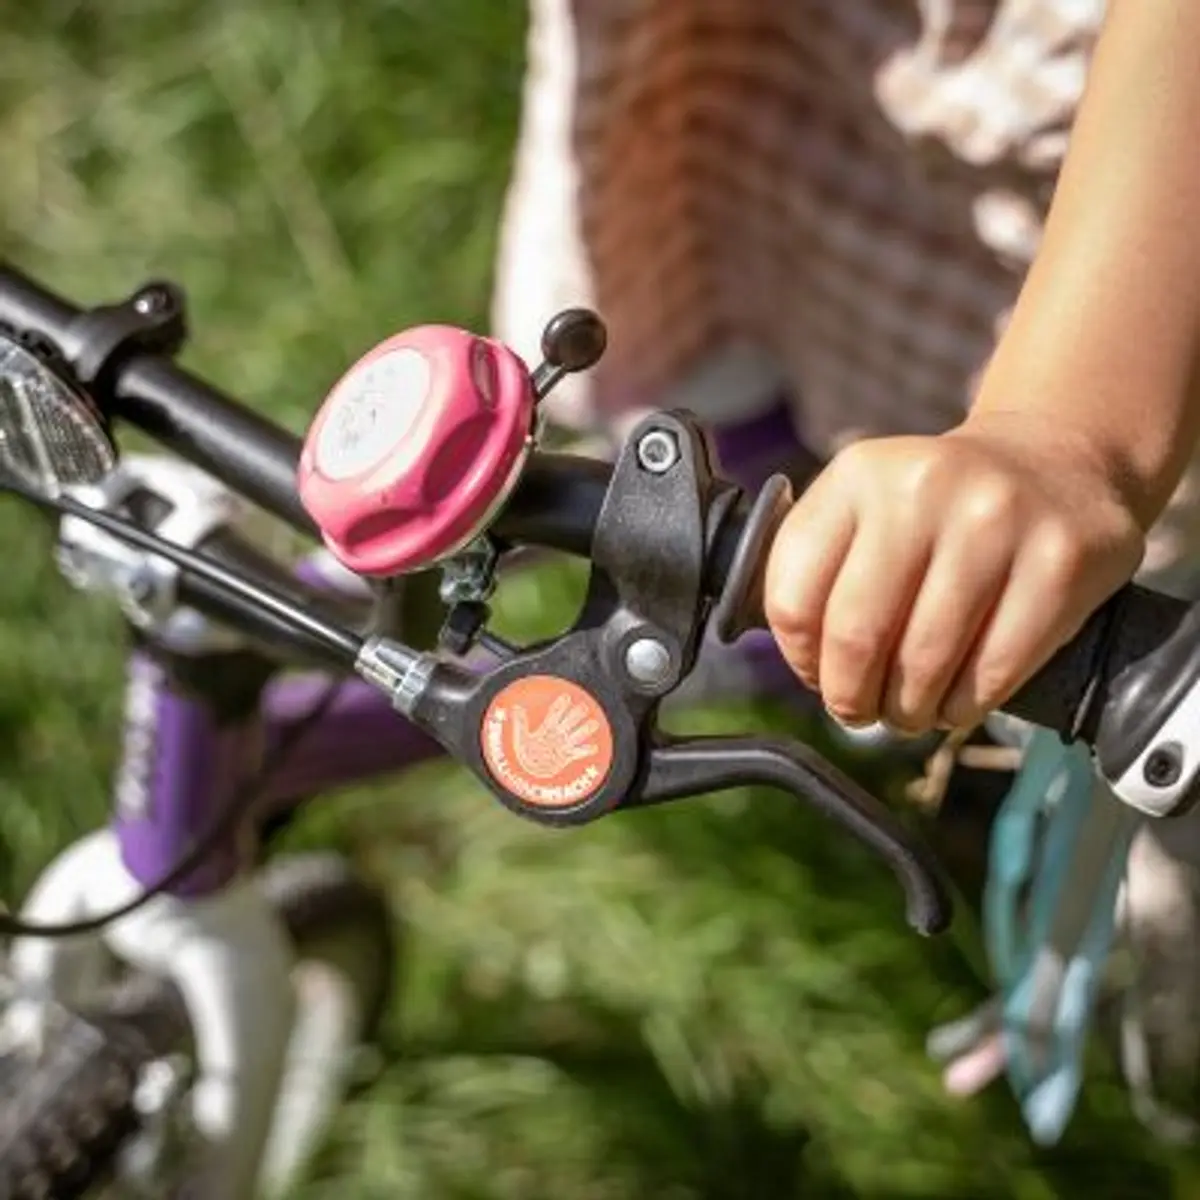
For beginners, the saddle can be set a little lower at first so they can support themselves safely when stopping. As your child becomes more confident, you can gradually adjust the height. A simple check is the heel method: When your child sits on the saddle and places their heel on the pedal in its lowest position, their leg should be almost fully extended. Also make sure your child is sitting comfortably, can reach the handlebars with their arms slightly bent, and can easily operate the brake levers and bell.
What should I do if my child falls between two sizes?
This happens often. Especially for beginners, the size that’s easier to control is usually the better choice. Safety and confidence are more important than having as much room to grow as possible.
If you’re unsure, it’s best to try both sizes. Pay attention to how easily your child can get on, start riding, steer, brake, and get off again.
And this is exactly where renting can be practical: If the smaller size still fits better right now but is likely to be used for only a few more months, you don’t have to rush to switch to the larger bike. At StrollMe, you can rent the right size for this transitional period and later easily switch to the next size, which your child can use for longer.
That way, your child won’t have to “grow into” a bike that’s too big just to make the purchase worthwhile for longer.
Popular children's bicycles


When Is a Kids’ Bike Too Small?
A bike isn’t automatically too small just because your child has turned a year older. Instead, pay attention to their seating position.
Typical signs include:
- the saddle is already pulled out very far
- their knees are bent sharply when pedaling
- the bike looks noticeably too small overall
- The handlebars and seat position can no longer be adjusted properly
Before you jump straight to the next size up, it’s worth checking first to see if the saddle and handlebars can still be adjusted.
Found a bike? Then you still need the right gear
Have you determined the right size and found the right kids’ bike? Then it’s worth taking a quick look at what comes with the bike and what additional accessories you’ll need.
Side stands and fenders, for example, are practical for everyday use. With a side stand, your child can park the bike on their own, while fenders protect their clothes and back from splashes in the rain, puddles, and muddy paths.
Woom children’s bikes come standard without side stands or fenders. At StrollMe, however, you can easily select the right accessories to add to your rental. This way, you can rent side stands and fenders right along with the bike and equip it to suit your everyday needs.
Other essential gear includes a well-fitting bike helmet, a bell, and—depending on where and when your child is riding—the right lights and reflectors. A bike lock also comes in handy, especially when taking the bike to daycare, school, or the playground.
This way, not only is the bike size sorted out, but everything is also ready for your first rides together. To find out what equipment is essential for road safety and what you should look for when it comes to brakes, weight, and accessories, check out our detailed guide “Which Kids’ Bike Is Right for My Child?”


