
Key Points at a Glance
- Stay warm: wear several thin layers, keep hands and feet warm, and protect your head
- Be seen: reflective strips on the child, lights and reflectors on the bike—don’t rely solely on the bike’s lights
- Get the bike ready: Do a ten-minute check with your child
- Riding on their own or riding along: both are possible in the fall, with different priorities
How cold does it really get on a bike? Here’s what the term “wind chill” means
The temperature in the weather report and the temperature we feel on our skin aren’t the same. The difference is called the wind chill, also known as the “feels-like” temperature. The term is a combination of “wind” and “chill.”
Here’s how it works: A thin layer of warm air lies directly against our skin. When the wind blows, this warm air is constantly blown away, and cold air flows in to replace it. As a result, the skin cools down faster than it would without wind. The stronger the wind, the greater this effect. When cycling, the headwind also plays a role, so even on a windless day, it can feel colder than the thermometer indicates.
As a guide, we’ve calculated the wind chill for a calm ride at about 15 km/h using the standard wind chill formula:
| Air temperature | Wind chill at 15 km/h (approx.) |
|---|---|
| 10 °C | 8 °C |
| 5 °C | 2 °C |
| 0 °C | -4 °C |
| -5 °C | -11 °C |
The wind chill temperature is only defined for values up to about 10 °C, which is why the table starts there. The values are a rough guide for unprotected skin; the actual effect depends heavily on clothing.
Side Fact: Strictly speaking, wind chill isn’t a temperature at all, but a measure of how quickly the body loses heat. The fact that we still refer to it as “feels-like temperature” is simply for the sake of clarity. The effect isn’t just in your head: wind actually carries heat away from the skin’s surface.
Staying Warm: The Onion Principle, Hands, Feet, and Head
The layering principle, also known as the layering system, is considered a tried-and-true way to get through the cooler months. Multiple thin layers can be flexibly adapted to the weather and temperature.
- Base layer: breathable and worn directly against the skin; it wicks away sweat—made, for example, of merino wool or performance fabric
- Mid layer: retains body heat
- Weather protection: a jacket that keeps out wind and water
Sweating should be avoided as much as possible, because sweat cools the body down.
Hands and feet first. When temperatures drop, the extremities are the first to get cold. Warm gloves and warm, dry feet are therefore essential gear.
Head. Under the helmet, a thin beanie or balaclava made of technical fabric can help. Make sure the helmet fits properly afterward, and follow the helmet manufacturer’s instructions.
Tip: So-called “baklava” hats for children are particularly well-suited for this.
Be visible: three levels for fall
This is especially true in the fall: If you can’t be seen, you’re not safe. It’s best to ensure visibility on three levels.
1. On the child. Reflective strips on the backpack, shoes, or jacket sleeves help drivers spot the child in time. Don’t rely solely on the bike’s lights. Dark clothing without reflective elements is hard to spot in traffic. A safety vest is one option, but it offers no protection from rain or cold and is often too big. Jackets with built-in reflectors are an alternative.
2. On the bike. Standard equipment includes a white reflector in the front, a large red reflector in the back, and yellow or orange reflectors on the spokes and pedals. Spoke reflectors ensure that the child can be spotted quickly even from the side. Did you know that tires with reflective stripes can replace spoke reflectors? In addition, pennants in bright, eye-catching colors can be attached to the bike; they make children more visible in fall traffic.
3. Adjust the light properly. If the bike has a front light, it’s worth doing a quick test: Position the bike five meters in front of a wall, mark the height of the light on the wall, and turn on the light. The top edge of the light beam should be below the mark so that oncoming traffic isn’t blinded.
Part 1: When Your Child Rides on Their Own
By the time they’re in kindergarten or starting school, many children ride short daily routes on their own. In the fall, it’s worth taking a close look at their bike.
The bike must be the right fit. When sitting in the saddle, the child should be able to reach the ground securely with both feet. The saddle and handlebars should be adjusted to fit the child and readjusted regularly as they grow. We explain which size is right for your child in our guide to children’s bike sizes.
Lighter is better. A heavy bike is hard for children to steer. As a rule of thumb, the bike should weigh no more than 40% of the child’s body weight—preferably significantly less. At StrollMe, for example, you’ll find the Woom GO 3, the Puky LS Pro 16, the Cube Cubie 160, or the Academy Bike Grade 3. For younger children who aren’t ready for pedals, there are balance bikes like the Puky LR Light.
Children's Bikes That Fit
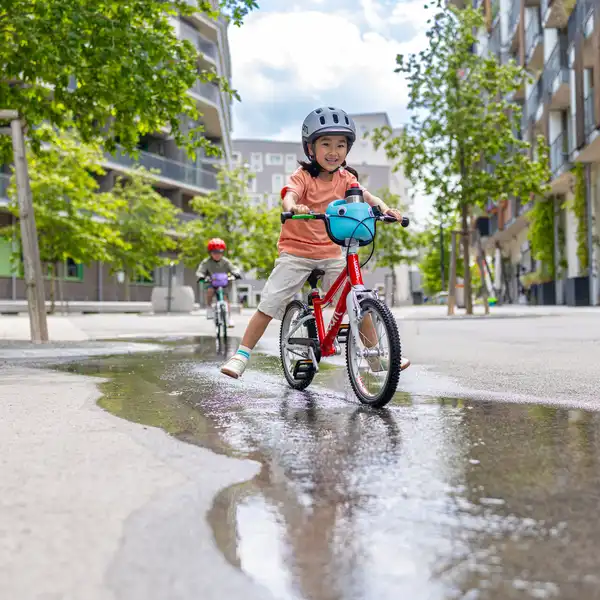
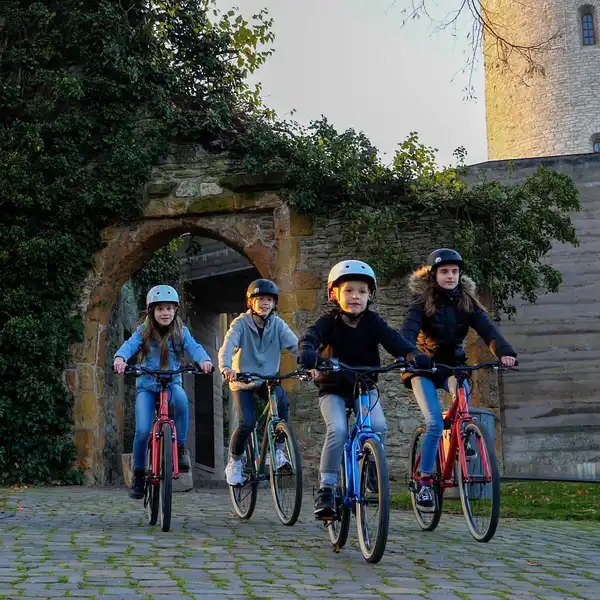
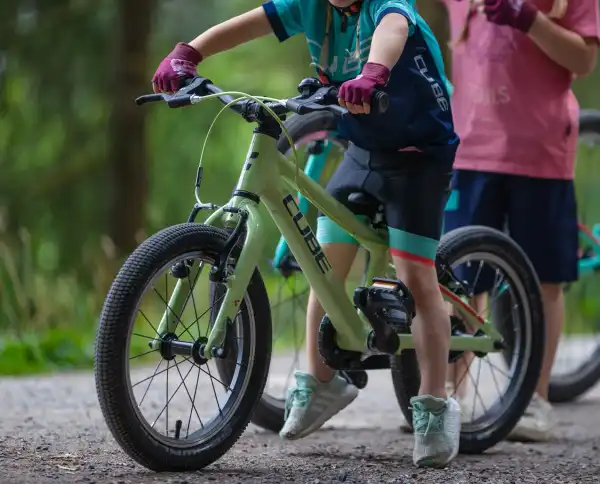
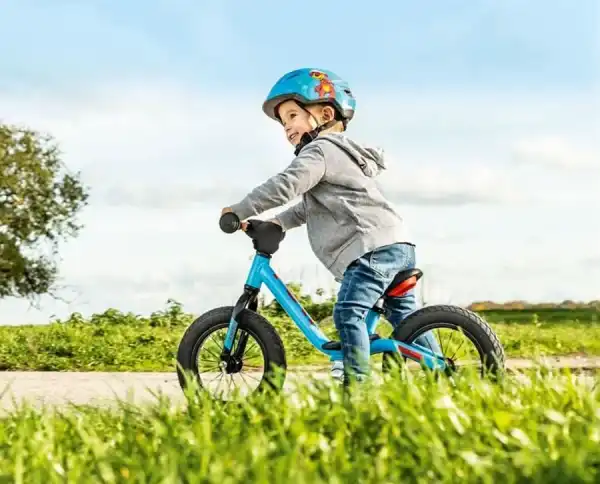
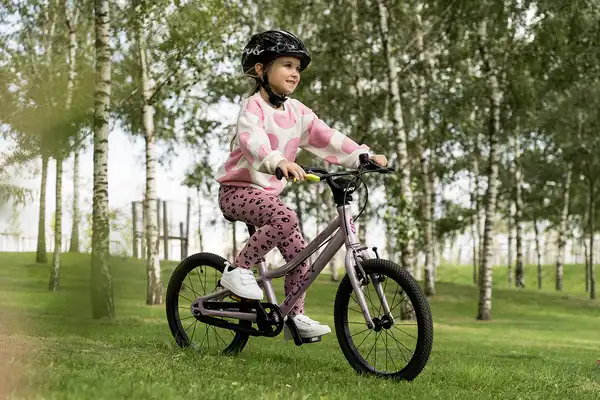


Brakes and Bell. Young children’s hands often lack the strength to pull firmly on a hand brake. For younger children, coaster brakes and a front rim brake have proven effective; by around 5 to 6 years old, most children can use hand brakes safely. An easily accessible bell is part of the basic equipment so that the child can alert others to their presence.
Fenders and side stands. Fenders keep mud and splashes off, making them especially practical in the fall. When buying a bike, pay attention to what’s included in the package. At StrollMe, for example, Woom bikes come without fenders or side stands, but both can be easily rented separately.
The helmet. A helmet protects the head in the event of a fall, so it should fit properly. Children often take it off as soon as they’re out of their parents’ sight. So take the time to calmly explain why the helmet is so important.
The 10-Minute Fall Check: Together with Your Child
| Check | What to Check | Child’s Task |
|---|---|---|
| Tires | Tire pressure | Inflate tires |
| Brakes | Do they grip securely? Are the pads worn out? | Test the brake levers |
| Lights and reflectors | Do the lights work? Are all reflectors present? | Check the light switch and reflectors |
| Chain | Clean and oil; wipe off excess with a rag | Hold a rag |
| Screws | Are they tight? | Check and ask |
| Doorbell | Is it loud enough? | Test the bell |
| Saddle and handlebars | The height is appropriate for the child’s size | Test ride |
| Helmet | Does it fit properly? | Put it on and check the straps |
Caution when lubricating: Lubricant must not get on the brake surfaces, and be careful not to get it on your clothes either. It’s not easy to remove once it gets there.
Part 2: When Your Child Rides Along
For shorter trips, younger children, or days with bad weather, a child seat is a good solution.
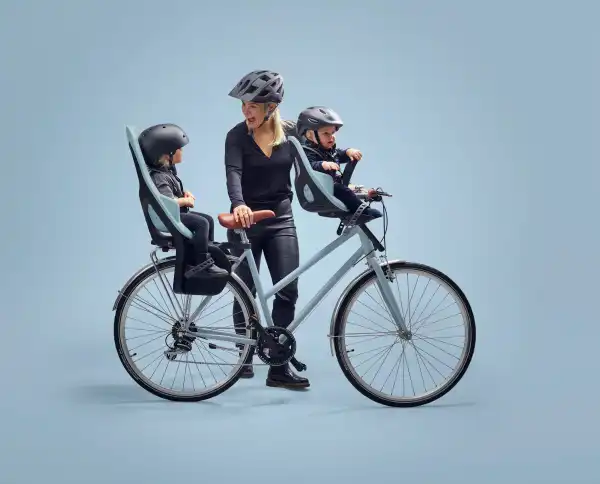
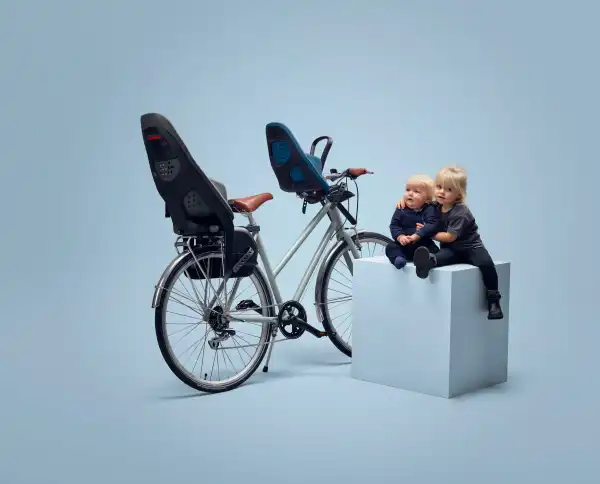
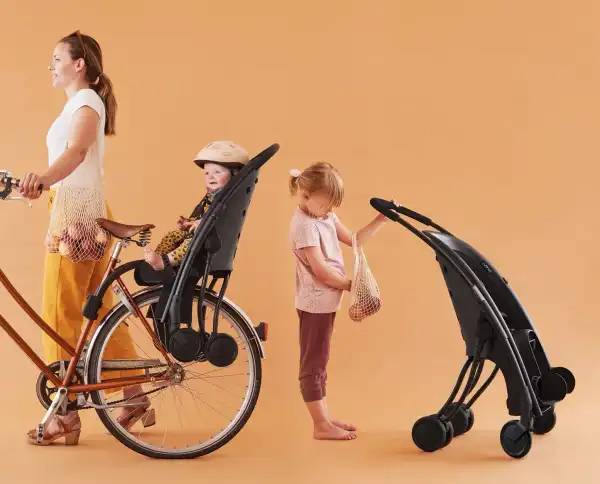
Bicycle seat. The child must be able to sit upright. A helmet is also required when using a child seat. At StrollMe, for example, you’ll find the Thule Yepp Maxi 2, the Thule Yepp Mini 2, and the Hamax Caress. The pahoj is a child bike seat that converts into a stroller—handy if you need to continue on foot after your bike ride.


Bicycle trailers. Children sit safely in the trailer when it’s windy or wet outside. Make sure it has a rain cover and weather protection. Popular models include the Croozer KEEKE single-seater, the Hamax Outback, and the Thule Chariot Cross 2. With warm clothes and a cozy blanket, it’ll be comfortable inside. We also have a related blog post on this topic: Which bike trailer is right for you?
Fall Checklist
If your child rides on their own:
- Both feet reach the ground; the saddle and handlebars are the right fit
- Lightweight bike, child-friendly brakes, bell
- Fenders to protect against mud and splashes
- Perform the fall check together
When the child is riding as a passenger:
- The child is already sitting upright, helmet on
- In windy or wet conditions, consider using a trailer with a rain cover and weather protection
In both cases:
- Wear several thin layers, warm gloves, and keep feet warm and dry
- Wear a helmet; if necessary, wear a thin hat or balaclava underneath
- Reflective strips on the backpack, shoes, or jacket sleeves
- Check the bike’s lights and reflectors before every ride


